
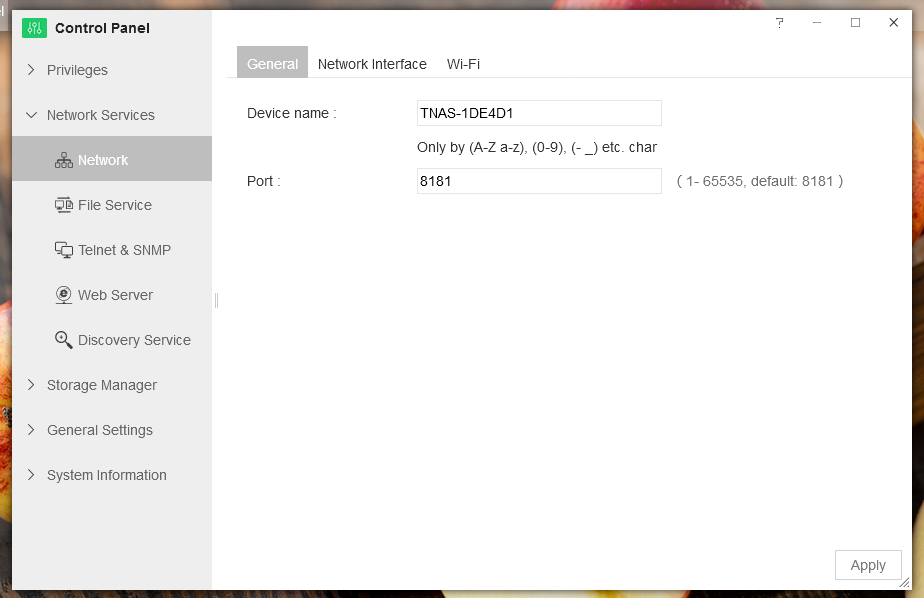
You can use General Settings to set TNAS's name and network port of TNAS. By default, TNAS is set at port 8181.
To view and alter your general settings, go to TOS Desktop> Control Panel> Network Services> General Settings.
Note:
When TNAS's port number is changed to a non-default port number, be sure to add the port number behind the IP address (e.g. 192.168.0.2:5151) when you access the TNAS device using an IP address.
You can set the parameters of the TNAS network interface in Network Interface. TNAS devices may be configured with one, two, or more network interfaces, and you can set these on an individual basis. To set a network interface, go to TOS Desktop> Control Panel> Network Services> Network Interface.
Edit: Modify the parameter configuration of the network interface. Select a network interface, then click "Edit". Click "Apply" when the configuration is finished.
DHCP (Automatic access to network settings): DHCP is a network protocol that manages automatic IP configuration. If you want DHCP to assign IP configuration to TNAS, check "Automatic access to network settings (DHCP)".
Manual Network Configuration: If you want to use manual network configuration, check "Use network settings below", then enter the IP address, subnet mask, DNS server, and default gateway.
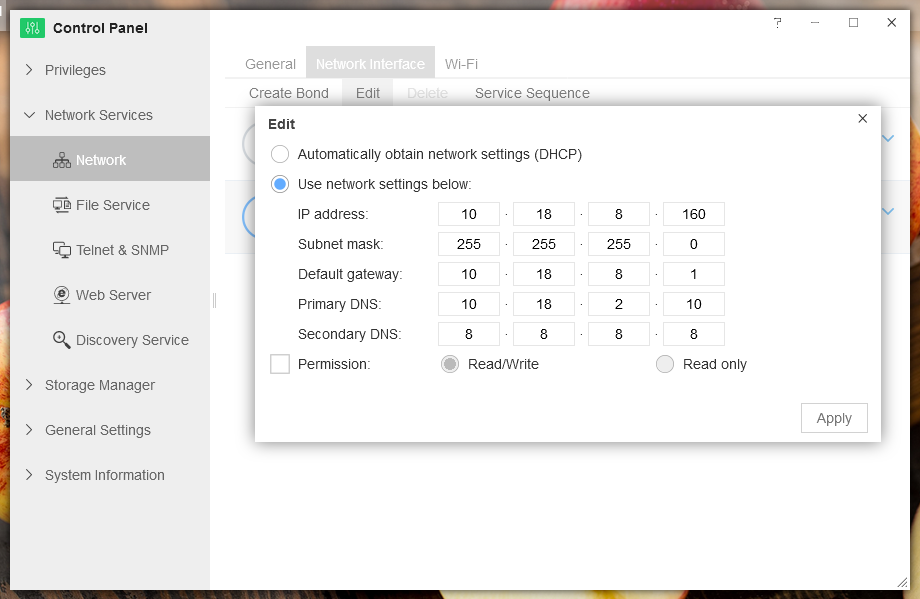
Permissions: This is used to set the access rights of the network interface. The permissions of the network interface can be "Read/Write" or "Read Only". With the latter permission, all users who access TNAS via the network interface have read-only permission for TNAS data. The default permission of the network interface is "Read/Write". When the TNAS device has two or more network interfaces, you can set permissions for each network interface separately. This feature allows you to quickly configure permissions for users in different departments or in different areas.
Note:
If you select "Automatic access to network settings (DHCP)", TNAS's IP address may change after each device reboot. It is recommended that you restart the TNAS device and use the TNAS PC desktop application to regain the correct IP address.
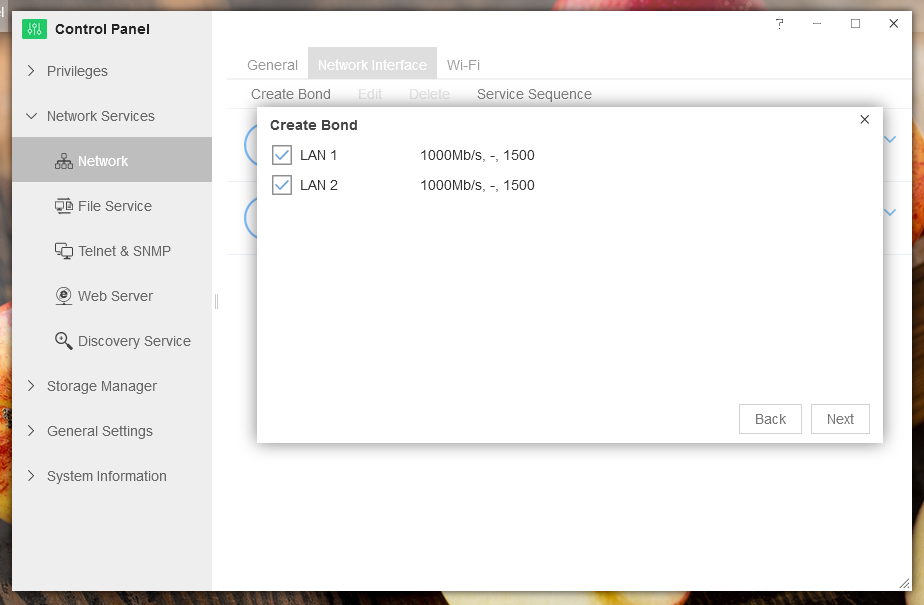
When TNAS is configured with two or more network interfaces, you can create a "Bond" for the network interface. As a result, you can establish divisions for different network interfaces to maximize each's work efficiency.
"Bond" works in four modes:
- Self-Adapting Load Balance;
- IEEE 802.3as Dynamic Link Aggregation;
- Balance XOR;
- Active / Standby.
To Create a "Bond":
- Click "Create Bond";
- Select one of the above four Bond modes, then click "Next";
- Check the network interface you want to add to the Bond, then click "Next";
- Select the network configuration mode, then click "Apply".
Delete: If you want to delete a Bond, select a Bond, click "Delete", then click "OK".
Service Sequence: When TNAS is configured with two or more network interfaces (or configured with USB Wi-Fi adapters), you can set the service priority of these network interfaces. This is referred to as the "Service Sequence".
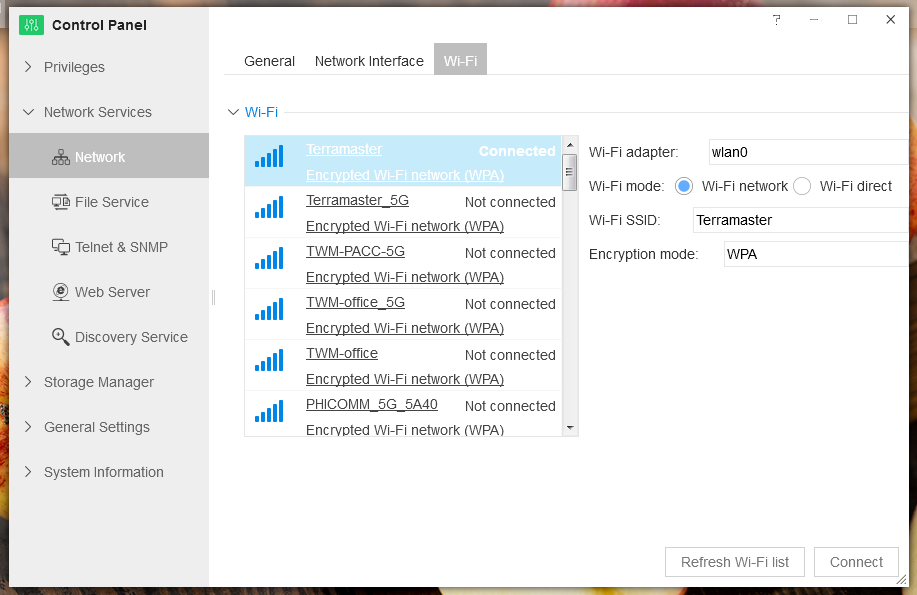
You can connect TNAS to a network by using a USB wireless network card.
If a wireless network card is required for connection, please plug the USB wireless network card into TNAS's USB port, then go to TOS Desktop> Control Panel> Network Services> Network> Wi-Fi to set up the wireless network connection.
Note:
TNAS can only use one USB wireless network card, and TNAS currently only supports certain wireless network card models. Please visit TerraMaster's official website for more information.